

Creating a handmade journal is a rewarding project that combines creativity, craftsmanship, and personal expression. Whether you want to make a gift, start a sketchbook, or build a notebook for writing, crafting your own journal allows you to design something that fits your exact needs and style. With a few tools, some patience, and a bit of practice, you can produce a durable and beautiful journal that will hold your thoughts and ideas for years to come.
1. Choosing Materials
Before you start, gather the materials you will need. The basic supplies include paper for the pages, thicker paper or cardboard for the covers, decorative paper or fabric for the exterior, strong thread for binding, a needle, a ruler, a cutting tool, and glue.
For the pages, you can use plain printer paper, watercolor paper, or recycled materials such as old book pages or maps. The choice depends on how you plan to use your journal. If you will be painting or using markers, thicker paper works better. For writing or sketching, lighter paper keeps the book flexible.
For the cover, use sturdy cardboard or chipboard. You can also repurpose materials like old cereal boxes, leather scraps, or book covers from an unused notebook. Decorative paper, fabric, or even handmade paper can be used to wrap the cover and give it a finished look.
2. Cutting and Folding the Pages
Decide on the size of your journal. Common sizes are A5 (half of A4) or smaller pocket-sized formats. Cut your paper to size using a sharp blade or paper cutter. A precise cut helps the pages line up neatly when folded.
Next, fold each sheet in half carefully to form a crease. To make a thicker section, group several sheets together and fold them as one. These groups of folded pages are called signatures. A typical handmade journal has four to six signatures, depending on the desired thickness. Use a bone folder or the edge of a ruler to press the fold flat for a crisp finish.
3. Preparing the Cover
Cut two pieces of cardboard slightly larger than your folded pages to form the front and back covers. If you want a hard spine, cut another narrow strip for the spine. Cover each piece with decorative paper or fabric by gluing the material to the outside surface. Fold the edges neatly to the inside and secure them with glue. Let the covers dry under a heavy book to prevent warping.
If you prefer a soft cover, you can use a single piece of leather or thick fabric folded over the pages. This approach creates a flexible, rustic look.
4. Making the Holes for Binding
Once your signatures and covers are ready, you need to prepare holes for sewing. Stack the signatures together and mark three to five evenly spaced points along the fold line of each one. These marks determine where you will stitch the pages together. Use an awl or thick needle to pierce small holes through the folds.
Next, align the signatures with the cover. Mark matching holes on the spine or cover edges so the thread can pass through them smoothly. Make sure the holes on all signatures line up to keep the binding even.
5. Sewing the Journal
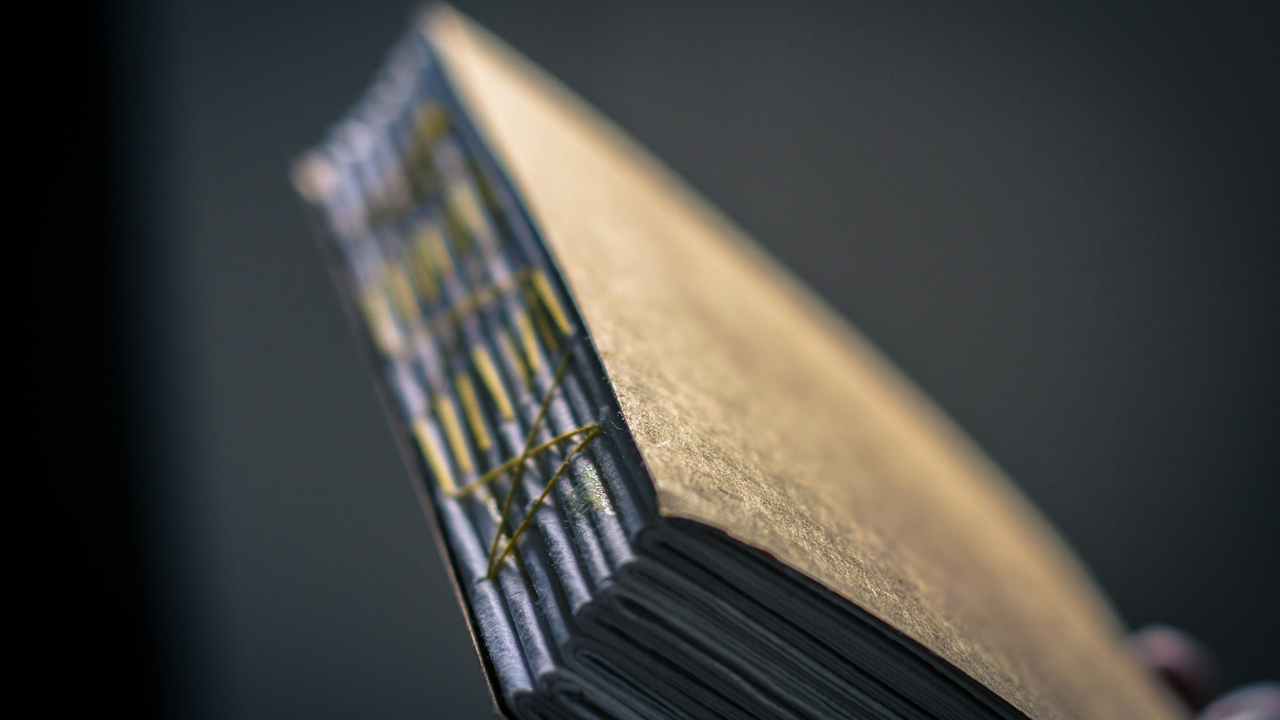
There are several binding methods, but one of the simplest and most popular is the Coptic stitch. This method allows the journal to lay completely flat when opened, which is great for writing or drawing.
Thread a strong needle with waxed linen thread or embroidery floss. Start by sewing the first signature to the cover through the holes you prepared. Then add the next signature, looping the thread through the previous stitches to create a chain-like pattern along the spine. Continue until all signatures are attached.
If you prefer a simpler approach, you can use a pamphlet stitch, which involves sewing each signature directly through its center and tying off the thread inside. This works well for thinner journals or sketchbooks.
When the sewing is complete, tie the thread securely and trim any excess.
6. Attaching the Cover
If you used separate front and back covers, attach them to the sewn pages by passing the thread through holes in the cover or by gluing the outermost pages to the inside of the covers. Allow the glue to dry completely before handling. For extra durability, you can reinforce the spine with a strip of fabric or paper.
7. Adding Finishing Touches
Now that the basic structure is complete, you can personalize your journal. Add endpapers, which are decorative sheets glued to the inside of the front and back covers. These hide the stitching and give a professional finish. You might also add a ribbon bookmark, elastic closure, or pocket for storing notes and cards.
Decorate the cover with paint, stamps, embroidery, or collage elements. Personalizing your journal makes it unique and meaningful. If you prefer a minimalist style, a clean and simple finish can look just as elegant.
8. Caring for Your Handmade Journal
A handmade journal, like any handcrafted item, benefits from a bit of care. Store it in a dry place away from direct sunlight to prevent fading. Avoid overstuffing it with thick items that could strain the binding. If pages start to warp, press the journal under a heavy book for a day or two.
The materials you choose will affect how your journal ages. Leather softens and darkens with time, while paper covers may wear at the corners, adding to the handmade charm.
9. Why Make Your Own Journal
Beyond the satisfaction of making something with your hands, crafting a journal offers creative control. You decide the size, materials, color scheme, and binding style. It can also be a form of relaxation and mindfulness, allowing you to focus on a slow, rewarding process.
A handmade journal also makes a thoughtful gift. Whether you give it blank or filled with writing, it carries a personal touch that store-bought items cannot match.
10. Conclusion
Making a handmade journal is both practical and artistic. The process involves patience, but the results are lasting and deeply personal. Once you have made your first journal, you may find it addictive to experiment with new techniques, materials, and designs. Each one will be slightly different, reflecting your creativity and attention to detail.
With a few tools and some imagination, anyone can craft a beautiful, functional book. Your handmade journal will not only serve as a place to record ideas but also stand as a piece of art in its own right.