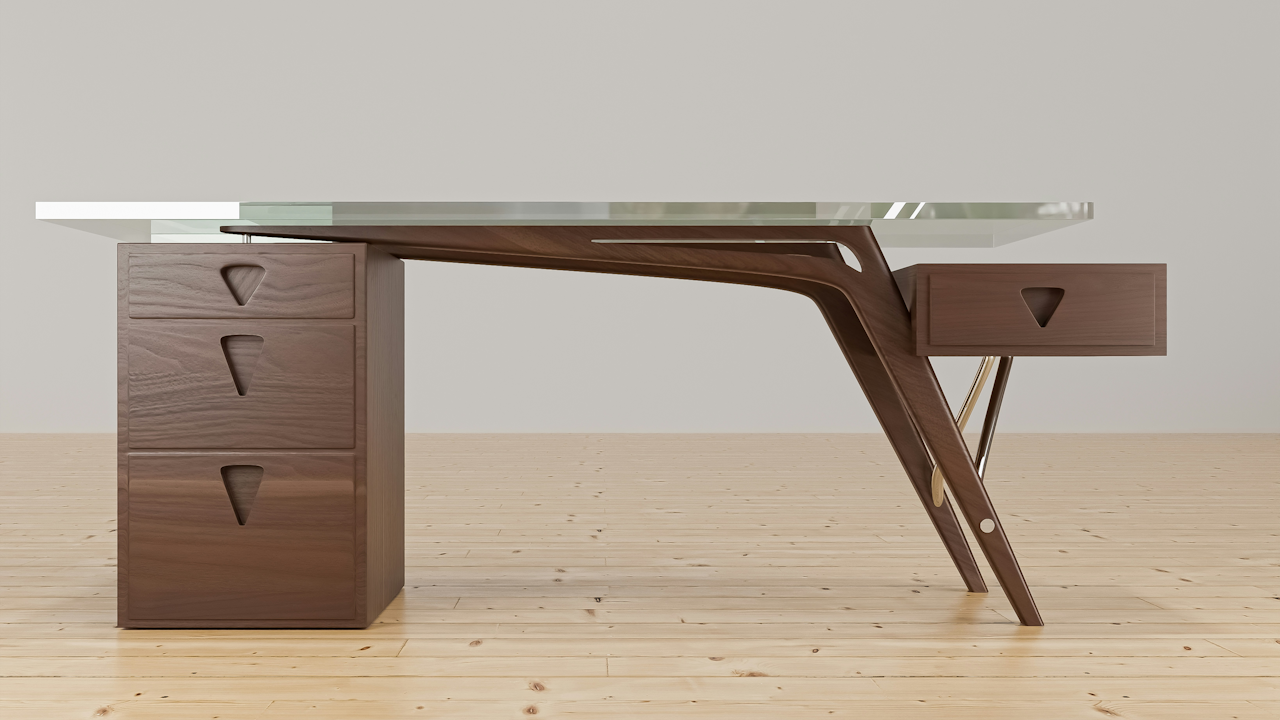
A desk is one of the most personal pieces of furniture in your home. It is where you work, create, and often spend long hours each day. Store-bought desks are convenient, but they rarely offer the exact size, style, or features you need. Building your own custom desk gives you the opportunity to design something that fits your space perfectly, matches your taste, and meets your functional requirements. Many people assume that woodworking requires a large workshop full of expensive tools, but you can actually build a durable and stylish desk with just a handful of basic tools and some careful planning.
This guide walks you through how to build a simple, sturdy, and customizable desk while keeping the tool list short.
Step 1: Planning and Design
The first step is to decide exactly what kind of desk you want. Consider your space and how you plan to use it. Will this be a computer desk, a writing desk, or a multipurpose workstation? Measure the room and determine the maximum length, width, and height that make sense. Standard desk height is about 29 to 30 inches, but you can adjust for comfort.
Sketch your design on paper. Keep it simple: a rectangular top with sturdy legs is the easiest starting point. If you want storage, you can add shelves or drawers later, but the foundation of a desk is simply a flat top with stable support.
Step 2: Materials
The main material you will need is wood. The type you choose depends on your budget and style. Here are three common options:
- Plywood: Affordable, strong, and easy to cut. Choose a sheet with a nice veneer surface.
- Solid wood boards: More expensive, but they provide a natural and timeless look.
- Butcher block or premade tabletop: A ready-made surface can save time and effort.
For the legs, you can use wooden boards, metal hairpin legs, or even prefabricated desk legs sold online. Using premade legs is the easiest option if you want to minimize tools.
Step 3: Minimal Tools Needed
Here are the essential tools you will need:
- Measuring tape and pencil: To measure and mark cuts.
- Circular saw or handsaw: A circular saw makes straight cuts quickly, but a handsaw works if you are patient. Many hardware stores will also cut plywood to size for you.
- Power drill with drill bits: Essential for making pilot holes and driving screws.
- Screws and screwdriver bit: To attach legs to the top.
- Sandpaper or sanding block: For smoothing rough edges.
- Clamps (optional): Helpful for holding wood in place, but not strictly necessary.
This list shows that you do not need a fully equipped workshop. A drill and a saw are enough to handle most of the work.
Step 4: Cutting the Desktop
Once you have your wood, cut it to the size you planned. A standard desk width is about 24 to 30 inches, with a length of 48 to 72 inches. Adjust these dimensions based on your space. If you are using plywood, sand the edges after cutting to prevent splinters.
Step 5: Attaching the Legs
The simplest way to add legs is to purchase a set of metal or wooden legs designed for desks. These usually come with mounting plates and screw holes. Position them evenly on each corner of the underside of your desktop. Use your drill to create small pilot holes, then drive in screws to secure the legs.
If you want to build wooden legs yourself, cut four boards of equal length for the legs. Attach them to the underside of the desk using L-brackets or pocket screws. A crossbar connecting the legs can add stability.
Step 6: Sanding and Finishing
Before finishing, go over all surfaces with fine-grit sandpaper. This smooths out edges and prepares the surface for stain or paint. Choose a finish that suits your style:
- Stain and sealant for a natural wood look.
- Paint for a bold or modern appearance.
- Clear polyurethane for durability and protection.
Apply the finish with a brush or rag, allow it to dry, and add a second coat if needed.
Step 7: Custom Additions
Once the basic desk is complete, you can add features to improve function. A few simple upgrades include:
- Cable management: Drill a small hole in the back of the desk and add a grommet to keep cords organized.
- Storage: Attach a small filing cabinet or drawer unit under the desk.
- Keyboard tray: Install a slide-out tray if you want more desktop space.
These additions can be installed later, so focus on completing the base structure first.
Benefits of Building Your Own Desk
Building a custom desk is rewarding for many reasons:
- Perfect fit: You can design a desk that matches the exact dimensions of your space.
- Cost savings: A homemade desk can cost far less than a high-quality store-bought one.
- Durability: By using solid materials and careful construction, your desk will last for years.
- Personal satisfaction: Every time you sit down to work, you will enjoy knowing you built it yourself.
Final Thoughts
You do not need a garage full of tools or years of carpentry experience to build your own custom desk. With a saw, drill, and a few basic supplies, you can create a sturdy, stylish, and perfectly sized workspace. Start simple with a rectangular top and premade legs, then expand your skills as you gain confidence.
A desk built with your own hands is more than just furniture. It is a project that reflects your creativity and resourcefulness while giving you a practical and personal space for work or study.

