

A blank wall can feel like a blank canvas, full of potential but also a little intimidating. While store-bought art is always an option, there’s a unique satisfaction in creating something entirely your own. One of the simplest and most accessible ways to do this is with a common household item: painter’s tape. It’s affordable, easy to work with, and surprisingly versatile, allowing you to transform a plain wall into a graphic masterpiece with minimal fuss.
The beauty of using painter’s tape lies in its simplicity. It’s a low commitment medium. If you make a mistake, you can simply peel it off and start again. This makes it perfect for those who are a little hesitant about diving into a big DIY project. The process itself is more about design and careful application than it is about artistic skill.
To begin your wall art project, you’ll need a few key supplies: painter’s tape, a ruler or measuring tape, a pencil, and an optional level. The type of painter’s tape you choose is important. Look for a brand that is specifically designed for delicate surfaces or for use on walls for an extended period. This will ensure it won’t pull off any of the existing paint when you remove it.
Before you start, you’ll want to plan your design. This is where your creativity comes into play. Consider the space you’re working with. A large, open wall can accommodate a complex geometric pattern, while a smaller area might be better suited for a simpler, more abstract design. You can sketch out your ideas on a piece of paper first. Think about different shapes and how they can connect. Triangles, squares, chevrons, and even abstract lines can all be used to create a dynamic composition.
Once you have your design in mind, it’s time to mark your measurements on the wall with a pencil. This step is crucial for ensuring your lines are straight and your pattern is symmetrical. Use your ruler to measure out the placement of each line. You can even use a level to make sure your horizontal and vertical lines are perfectly straight. Don’t worry about the pencil marks. They can be easily erased after the tape is applied.
Now for the fun part: applying the tape. Carefully and slowly place the painter’s tape along the pencil lines. Press firmly to ensure a good seal. This will prevent any paint from bleeding under the edges later on if you decide to add color. For more intricate patterns, it can be helpful to cut the tape into smaller pieces to navigate corners and angles.
Once your entire design is taped out, you have a few options. The simplest and most striking approach is to leave it as is. The graphic lines of the tape against the plain wall create a modern, minimalist look that is both sophisticated and visually interesting. This monochromatic style is perfect for a contemporary home or an office space. It adds texture and dimension without being overwhelming.
If you want to add a splash of color, your taped design becomes a stencil. This is where you can truly make the art your own. Choose a paint color that complements your existing decor. You can paint within the shapes you’ve created, or paint the entire wall and then remove the tape to reveal the original wall color underneath. This creates a reverse effect a vibrant pattern on a neutral background. When painting over the tape, apply thin, even coats to avoid a thick buildup that might peel when the tape is removed.
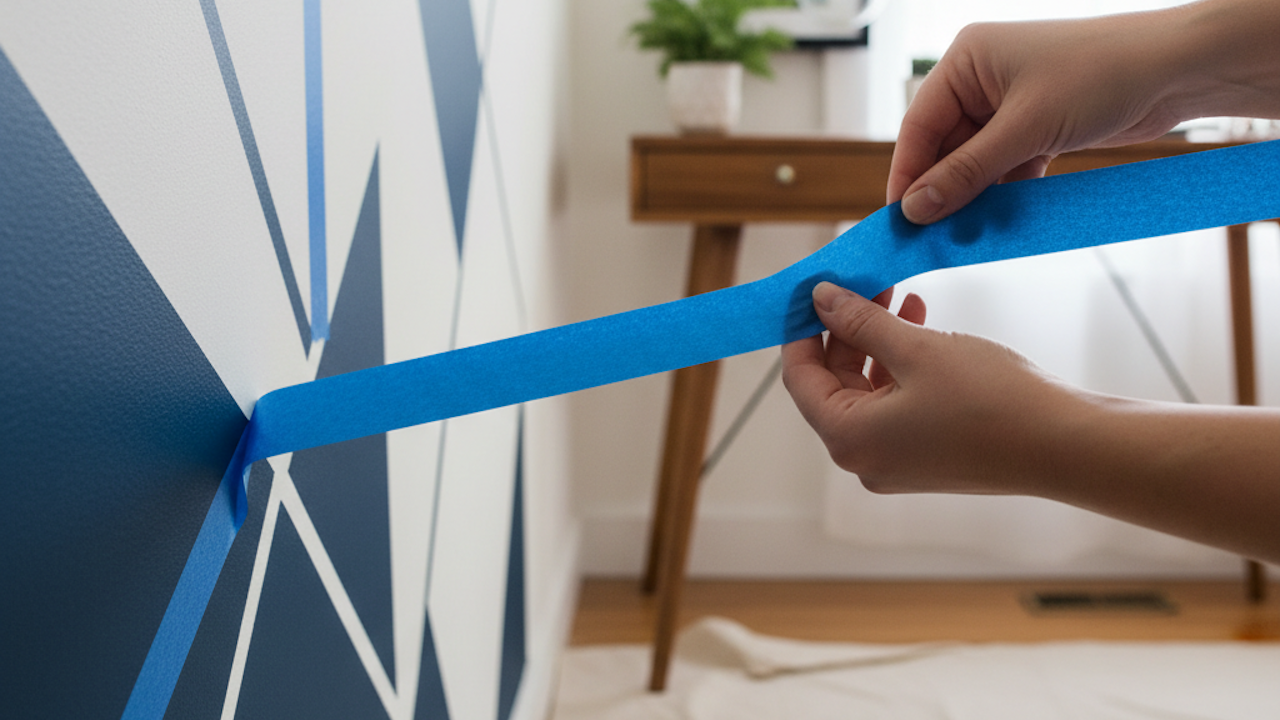
After the paint is completely dry, it’s time for the big reveal. Carefully and slowly peel off the painter’s tape at a 45 degree angle. This gentle method will help prevent any of the paint from coming off with the tape. As you remove each piece, your unique design will be revealed.
The final result is a custom piece of wall art that reflects your personal style. It’s a project that requires very little artistic skill but a good deal of planning and precision. The end product is a testament to the power of a simple, everyday material. With just a roll of painter’s tape, you can transform a boring wall into a focal point, creating a space that feels personal, stylish, and entirely your own. It’s a creative and satisfying project that proves you don’t need to be a professional artist to make a big impact on your home decor.