

Creating your own jewelry from items already in your home offers a rewarding way to express creativity while saving money and reducing waste. Everyday objects like old magazines, buttons from worn-out shirts, plastic bottles, fabric scraps, and even paper tubes can become beautiful, one-of-a-kind pieces. This approach suits beginners and experienced crafters alike, works for all ages with proper supervision, and produces wearable art that feels personal and unique. Whether you want matching sets for outfits, thoughtful handmade gifts, or simply a relaxing hobby, these projects deliver satisfying results with minimal cost.
The benefits extend beyond the finished product. Upcycling household items cuts down on landfill contributions and encourages resourcefulness. Many projects require only basic tools found in most kitchens or junk drawers. Finished pieces often look store-bought or better because of the thoughtful color combinations and textures you choose. Plus, the process itself builds skills in design, patience, and problem-solving.
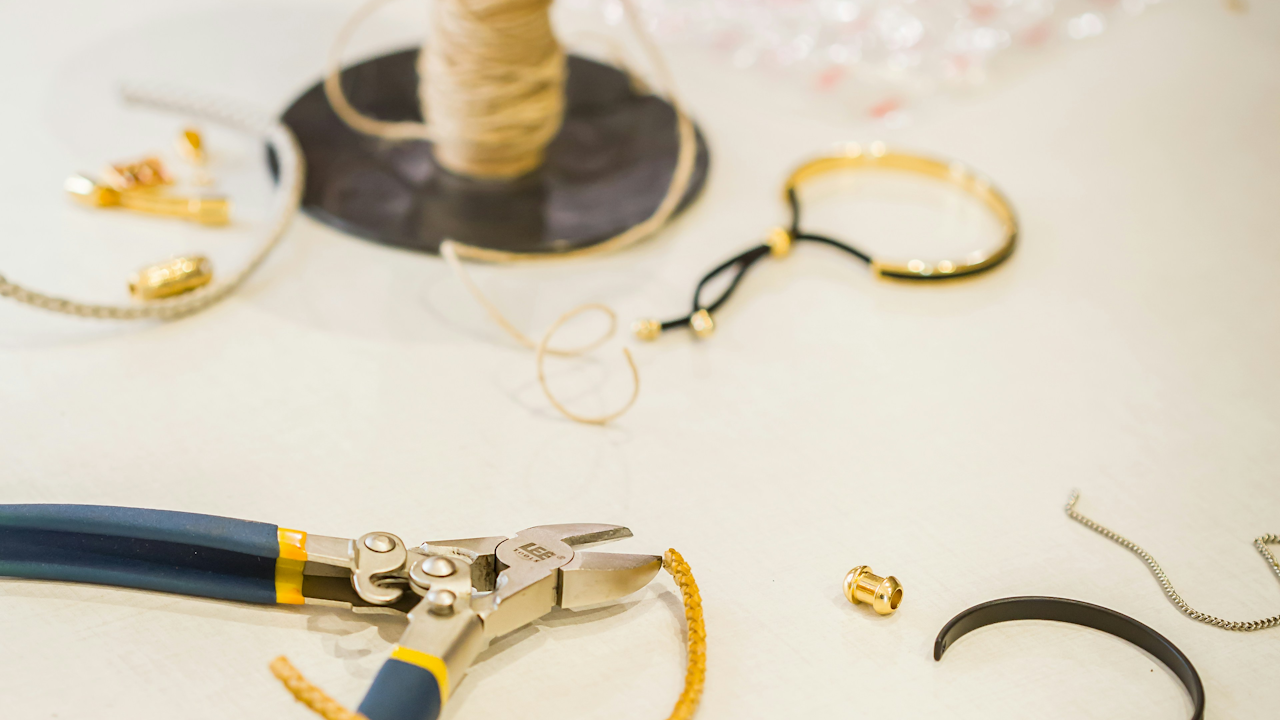
Getting Started: Common Materials and Tools
Gather these household staples before beginning. Scissors or a craft knife handle most cutting needs. White school glue, glue sticks, or a hot glue gun (used carefully) secure pieces. Clear nail polish, Mod Podge, or school glue thinned with water creates protective seals on paper and fabric items. A ruler, pencil, and markers help with measuring and decorating. For stringing, use embroidery floss, yarn, ribbon, elastic cord from old hair ties, or string from packaging. Clasps and findings come from broken jewelry, or you can improvise with buttons, fabric loops, or wire from coat hangers.
Everyday materials to collect include old magazines, newspapers, junk mail, wrapping paper, and cardboard tubes from paper towels or toilet paper. Buttons from discarded clothing provide instant color and texture. Plastic bottles and bottle caps offer shiny, lightweight options. Fabric scraps from old t-shirts, towels, or linens work well for wrapping or braiding. Safety pins, paper clips, and wire hangers supply structure. Dried pasta, coins, old keys, and watch parts from broken timepieces add character. Washers or nuts from a toolbox create industrial flair when available.
Safety Considerations
Work in a well-lit, ventilated space. Adult supervision is essential for children, especially with scissors, hot glue, or sharp edges. Wear gloves when handling hot glue or rough materials. File down any sharp wire ends or cut plastic edges with a nail file to prevent scratches. Avoid toxic glues on pieces that touch skin for long periods. Test new materials for allergies. Store small parts away from young children to prevent choking hazards.
Paper Bead Jewelry: Elegant Necklaces, Bracelets, and Earrings from Magazines
Paper beads rank among the most versatile and impressive projects. Colorful magazine pages or junk mail transform into glossy, lightweight beads that rival commercial versions.
Materials needed: Old magazines or colorful paper, scissors, ruler, bamboo skewer or toothpick (sharp ends removed for safety), white glue, clear nail polish or Mod Podge, cord or string for stringing, optional buttons or larger beads for accents, clasp or ribbon for closure.
Step-by-step instructions:
- Select pages with vibrant colors, patterns, or text that appeal to you. Avoid thin newsprint if possible, as it tears easily during rolling.
- Use a ruler and pencil to mark long triangles. For a standard bead about half an inch long when finished, cut a triangle with a one-inch base that tapers to a point over eight to twelve inches. Consistent measurements produce uniform beads.
- Place the wide base of the triangle against the skewer. Begin rolling tightly toward the point, keeping the paper centered and smooth.
- When you reach the final inch, apply a thin line of white glue along the edge. Continue rolling to secure the bead. Press gently for a few seconds.
- Slide the finished bead off the skewer and set it aside to dry completely, usually ten to fifteen minutes. Repeat to create dozens of beads for a full necklace.
- Once dry, apply a thin coat of clear nail polish or Mod Podge using a small brush or your finger. Allow it to dry fully, then add a second coat for extra shine and durability. This sealing step prevents fading and adds a professional finish.
- Plan your design. Alternate bead sizes, colors, or insert larger focal beads. Thread beads onto cord or elastic in your desired pattern.
- Finish the ends. Tie secure knots or attach a simple clasp made from a button and fabric loop, or use ribbon ties for an adjustable fit. Trim excess cord.
Variations: Create cylindrical beads instead of tapered ones by cutting long rectangular strips of consistent width and rolling them. Mix matte and glossy papers for texture contrast. Add fine glitter to the glue before the final roll for subtle sparkle. Make shorter versions for bracelets or single-bead drop earrings by attaching small beads to earring hooks fashioned from straightened paper clips or wire.
Tips for success: Work on a protected surface because glue can seep. If beads unravel, apply extra glue and roll again firmly. For perfectly round holes, use a slightly thicker skewer or straw. Store finished beads in a dry container until stringing to maintain shape.
Troubleshooting: Beads feel sticky after sealing? Apply thinner coats and allow longer drying time between layers. Paper tears during rolling? Choose thicker magazine stock or slow down the rolling motion. Uneven beads? Practice with scrap paper first and mark consistent cutting lines.
This project scales easily from simple single-strand necklaces to elaborate multi-layered pieces. A full necklace might use fifty or more beads and takes an afternoon to complete once you master the rolling technique.
Button Jewelry: Bracelets, Earrings, and Pendants from Old Shirts
Buttons offer instant variety in size, color, and finish. Most homes accumulate them from replaced clothing or craft stashes.
Materials needed: Assorted buttons, elastic cord or ribbon, needle and thread, white glue or hot glue, earring hooks or wire for earrings, optional fabric scraps or felt for backing.
Step-by-step instructions for a simple button bracelet:
- Sort buttons by size, color, and theme. Choose a cohesive palette, such as all blues or a mix of vintage metallics.
- Cut elastic cord to fit comfortably around your wrist with a little extra for knotting or clasp attachment.
- Thread buttons onto the cord through their holes. Alternate large and small buttons or create repeating patterns. Push buttons close together for a full look or space them for a lighter effect.
- Once all buttons are strung, tie the cord ends securely with multiple knots. Trim excess. For a more finished look, sew the ends to a small fabric loop and button closure.
- Optional: Add dimension by stacking two or three buttons on top of each other with glue before stringing the cluster.
For button earrings:
- Select two matching or complementary buttons.
- If the button has a shank (loop on back), open an earring hook loop, thread it through the shank, and close the loop securely.
- For flat buttons without shanks, glue the button face to a flat earring post or clip-on finding. Allow glue to cure fully.
- Test the earrings for balance and comfort.
Variations: Sew buttons in rows onto a wide ribbon or fabric cuff for a statement bracelet. Create a pendant by gluing a cluster of buttons onto a bottle cap or cardboard circle, then attach to a cord. Theme entire sets around holidays or seasons using appropriate button colors.
Tips for success: Test elastic stretch before adding buttons to ensure comfort. Use strong thread when sewing for durability. Clean vintage buttons gently with mild soap if dusty.
Troubleshooting: Buttons slip on elastic? Choose cord with more grip or add small knots between buttons. Glue fails on metal buttons? Roughen the back surface lightly with sandpaper for better adhesion.
Button projects finish quickly and make excellent beginner activities or group crafts. They also work well for children learning basic stringing and patterning skills.
Bottle Cap and Plastic Bottle Jewelry: Lightweight Pendants, Earrings, and Charms
Plastic bottles and their caps provide shiny, moldable materials perfect for modern or rustic styles.
Materials needed: Clean plastic bottles and bottle caps, scissors or craft knife, permanent markers or acrylic paint, hole punch or nail and hammer for making holes, cord or chain, jump rings or wire, optional decoupage glue and small paper images.
Step-by-step instructions for bottle cap pendants:
- Thoroughly clean bottle caps inside and out. Remove any paper liners if present.
- Decorate the inside or outside. Draw designs with permanent markers, paint simple patterns, or decoupage tiny magazine cutouts or photos using glue. Let dry completely.
- Create a hole near the edge using a nail and hammer on a protected surface or a handheld hole punch designed for thin metal. File any rough edges smooth.
- Attach a jump ring or handmade wire loop through the hole. Connect to a cord, chain, or ribbon for a necklace.
- For earrings, repeat the process with smaller or paired caps and attach to earring hooks.
For plastic bottle elements:
- Cut off the top and bottom of a clean bottle. Cut the remaining cylinder into strips, circles, or freehand shapes such as leaves or flowers using scissors.
- Punch holes where needed for stringing. Decorate with markers or paint. Edges can be gently curled by warming briefly with a hair dryer on low heat (adult supervision required).
- String shapes together or attach as dangling elements to necklaces and bracelets.
Variations: Flatten bottle caps carefully with a hammer for a different texture (place between protective layers). Layer multiple caps or combine with buttons for stacked pendants. Cut bottle plastic into thin continuous strips and use like ribbon for wrapping cardboard bangles.
Tips for success: Work slowly when cutting plastic to avoid jagged edges. Multiple thin coats of paint or sealer last longer than one thick layer. Choose food-grade bottles when possible for peace of mind.
Troubleshooting: Paint peels from plastic? Clean the surface with rubbing alcohol first for better adhesion. Holes crack during punching? Make smaller pilot holes or use a steadier hand with the nail method.
These projects highlight how packaging waste can become wearable art. A set of bottle cap earrings and matching pendant makes a striking, lightweight accessory.
Aluminum Can and Tin Can Charms and Bracelets
Aluminum cans yield thin, workable metal for more structured pieces.
Materials needed: Clean aluminum cans, heavy-duty scissors or tin snips, pliers, nail file or sandpaper, permanent markers or paint, hole punch, cord or chain.
Step-by-step instructions:
- Cut the can open carefully along one side and flatten the sheet. Cut desired shapes such as circles, hearts, stars, or abstract charms. Keep shapes small for jewelry.
- File or sand all edges until completely smooth to prevent cuts.
- Decorate with markers, paint, or by embossing simple patterns with a blunt tool on the back.
- Punch holes for attachment. Shape pieces gently with pliers if desired curves or dimension.
- Connect multiple charms with jump rings or string to form a bracelet or necklace. Add beads or buttons between charms for interest.
Variations: Create flower shapes by cutting petals and layering them. Use can pieces as backings for button clusters. Form simple cuff bracelets by cutting wider strips and shaping around the wrist.
Tips for success: Wear gloves during cutting. Practice shapes on scrap pieces first. Combine with paper beads or fabric for mixed-media interest.
Troubleshooting: Metal too sharp after cutting? Spend extra time filing. Shapes warp unevenly? Work slowly and support the metal while shaping.
Fabric Scrap and T-Shirt Yarn Jewelry
Old clothing provides soft, colorful material for wrapping, braiding, and knotting.
Materials needed: Clean fabric scraps or old t-shirts, scissors, needle and thread or glue, cardboard tubes for bangles, cord for stringing.
Step-by-step instructions for t-shirt yarn bracelets:
- Cut an old t-shirt into one continuous strip by making a small cut near the hem and spiraling upward. Stretch the strip firmly to create rounded “yarn.”
- Braid three or more strands together. For a simple bracelet, braid to wrist length and tie or sew ends.
- For a wrapped bangle, cut a cardboard tube to desired width. Wrap t-shirt yarn or fabric strips tightly around it, securing ends with glue or stitching. Add buttons or beads on top.
Variations: Create macrame-style necklaces by knotting fabric strips in repeating patterns. Make tassel earrings by wrapping and tying fabric bundles. Sew fabric yo-yos or rosettes for brooch-style pins or pendants.
Tips for success: Pre-wash fabric to prevent shrinkage later. Mix textures like denim with soft cotton for visual interest. Stretch t-shirt yarn evenly for consistent thickness.
Troubleshooting: Fabric frays at ends? Seal with a drop of glue or stitch a small hem. Braids twist unevenly? Keep tension consistent while working.
Additional Ideas for Variety
Safety pin bracelets involve threading small beads onto safety pins, then connecting the pins with elastic or cord through their coil ends. This creates colorful, flexible pieces perfect for layering.
Paper tube cuffs require only a cardboard tube cut to bracelet width, decorated with paint, paper, or washi tape alternatives like magazine strips, then slit for easy on and off.
Quilled paper earrings start with thin paper strips rolled into coils and pinched into shapes. Glue shapes together into flowers or geometric designs, seal, and attach to earring hooks. This technique rewards patience with delicate, professional results.
Upcycled broken jewelry involves disassembling old pieces and recombining beads, chains, and pendants in fresh arrangements. Add new elements like bottle caps or buttons for updated looks.
Wire from coat hangers can be straightened and cut for simple hoop earrings, spirals, or wrapped pendants around buttons or small stones.
Pasta jewelry suits quick kid projects. Dye dry pasta with food coloring, let dry, then string with yarn or elastic, knotting between pieces for spacing.
Finishing Touches and Design Advice
Always seal paper and fabric pieces for longevity. Add weight or interest with larger focal elements at the center or bottom of necklaces. Balance colors and sizes across a piece for visual harmony. Asymmetry can look modern and intentional when planned.
For closures without commercial clasps, create toggles from a large button and a fabric or cord loop sized to fit over it. Ribbon or fabric ties offer adjustable, comfortable options for necklaces and bracelets.
Caring for Your Creations
Store jewelry in a dry place away from direct sunlight to prevent fading. Avoid spraying perfume or hairspray directly on pieces. Clean gently with a soft cloth. Paper and fabric items benefit from occasional resealing if wear shows.
Why These Projects Matter
Beyond personal enjoyment, making jewelry from everyday materials teaches valuable lessons in sustainability and creativity. Each piece carries a story of transformation from overlooked item to treasured accessory. Sharing the process with family or friends builds connections and passes on practical skills.
Experiment freely. Combine techniques, such as paper beads with button accents or fabric wrapping over wire frames. The only limit is imagination and the materials already around you. Start small with a single pair of earrings or a simple bracelet, then build toward more complex designs as confidence grows. The results will surprise you with their beauty and the pride that comes from wearing something made entirely by hand from items others might discard. Happy creating.