

Making scented candles at home is a rewarding craft that combines creativity with practical skills. Whether you want to fill your space with relaxing lavender aromas, energizing citrus scents, or warm vanilla notes, crafting candles from scratch allows full control over ingredients, fragrances, and designs. This process uses basic supplies available at craft stores or online and requires no advanced equipment. With practice, you can produce professional-quality candles for personal use or as thoughtful gifts. This guide covers everything from gathering materials to troubleshooting common issues, ensuring you create safe and beautiful results every time.
Understanding the Basics of Candle Making
Candles consist primarily of wax, a wick, and optional additives like fragrance and color. The wax serves as fuel that melts and vaporizes to sustain the flame. The wick draws up the melted wax through capillary action, feeding the flame. Scent comes from fragrance oils or essential oils added during the melting stage.
Different waxes produce varying burn qualities. Paraffin wax burns cleanly and holds scent well but comes from petroleum. Soy wax, derived from soybeans, is renewable and eco-friendly, though it may require more fragrance to achieve strong scents. Beeswax offers a natural honey aroma and purifies air as it burns, but it is more expensive. Blends of these waxes can combine benefits. For beginners, soy wax or a soy-paraffin blend provides forgiving results and good scent throw, which refers to how strongly the fragrance disperses when the candle burns.
Safety Comes First
Candle making involves hot wax and open flames, so prioritize safety. Work in a well-ventilated area away from children and pets. Keep a fire extinguisher nearby, and never leave melting wax unattended. Use heat-resistant surfaces and tools. Wear old clothes or an apron, as wax spills can be difficult to remove. Avoid using essential oils if you have sensitivities, and always check for skin reactions before handling concentrated fragrances. Proper ventilation prevents inhalation of fumes from melting wax or strong scents.
Gather Your Materials
Collect these supplies before starting:
- Wax: Start with 1 to 2 pounds of soy wax flakes or pellets for several small candles.
- Wicks: Cotton or wood wicks sized for your container diameter. Pre-waxed wicks with metal bases simplify assembly.
- Fragrance: Candle-specific fragrance oils offer better scent retention than essential oils. Use 6 to 10 percent of the wax weight for strong scents.
- Containers or molds: Glass jars, metal tins, or silicone molds work well. Ensure they withstand heat.
- Dye: Liquid or block dyes designed for candles. Skip for natural looks.
- Tools: Double boiler or a heat-safe pitcher in a pot of water, thermometer, stirring sticks, wick centering tools or clothespins, scissors, and measuring scale.
- Additives (optional): Vybar or stearic acid to improve scent throw and reduce frosting in soy wax.
Measure ingredients by weight for accuracy. A digital kitchen scale proves essential.
Preparing Your Workspace
Clear a flat, stable surface covered with newspaper or parchment paper for easy cleanup. Organize materials within reach. Preheat your oven to low temperature if using it to warm containers, which helps prevent cracking during pouring. Fill a large pot with a few inches of water for the double boiler method. This indirect heating prevents wax from scorching.
Step-by-Step Guide to Making Scented Candles
Begin with small batches of two or three candles to master the technique.
Step 1: Prepare the Containers and Wicks
Clean jars or tins thoroughly and dry them. If desired, warm them slightly in the oven to around 100 degrees Fahrenheit. This temperature difference reduces the chance of the wax pulling away from the sides as it cools.
Cut wicks to length, leaving about one inch extra above the container rim. Secure the wick base to the center of the container bottom using a dot of hot glue or wick adhesive tabs. Alternatively, thread the wick through a hole in the bottom of a mold and secure it externally. Use a clothespin or wick centering tool to hold the wick straight and centered at the top. Straight wicks ensure even burning.
Step 2: Melt the Wax
Weigh out your wax. For a standard 8-ounce jar, use about 7 ounces of wax to account for shrinkage. Place the wax in a heat-safe pitcher or the top of a double boiler. Heat over medium heat, stirring occasionally. Monitor temperature with a thermometer. Soy wax melts around 120 to 180 degrees Fahrenheit, while paraffin melts higher. Never exceed 200 degrees Fahrenheit to avoid discoloration or fire hazards. The wax should become fully liquid and clear.
Step 3: Add Color and Fragrance
Remove the melted wax from heat once it reaches the appropriate temperature, typically 180 to 185 degrees Fahrenheit for soy wax. Stir in dye if using. Add a small amount at a time until the desired shade appears. Remember that color lightens slightly as the wax cools and hardens.
Next, incorporate fragrance oil. For best results, cool the wax slightly to 160 to 170 degrees Fahrenheit before adding scent. This temperature preserves the volatile fragrance compounds. Stir gently but thoroughly for two full minutes to ensure even distribution. Over-stirring can introduce air bubbles.
Step 4: Pour the Wax
Pour the scented wax slowly into prepared containers, leaving about one-quarter inch of space at the top. Pour in a steady stream to minimize bubbles. If making multiple candles, work quickly before the wax sets. Tap the containers gently on the counter to release trapped air.
Step 5: Cooling and Setting
Allow candles to cool undisturbed at room temperature. Rapid cooling can cause cracks or uneven surfaces. This process takes several hours, depending on size. Soy wax often develops a frosted appearance, which is natural and does not affect performance.
Once fully hardened, trim the wick to one-quarter inch. If a sinkhole or depression forms in the center, remelt a small amount of leftover wax and top it off at a lower temperature.
Curing the Candles
For optimal scent throw, allow candles to cure for at least one week in a cool, dark place. During this time, the fragrance binds fully with the wax. Test burn one candle after curing to evaluate performance.
Variations and Creative Ideas
Experiment with different scents by blending fragrance oils. Popular combinations include lavender and chamomile for relaxation, cinnamon and clove for holiday warmth, or lemon and rosemary for freshness. Layer colors by pouring different shades in stages, allowing each layer to set partially.
Create container-free pillar candles using molds. Coat molds lightly with mold release spray. Follow similar steps but secure wicks differently. For layered scents, pour one fragrance layer, let it set, then add another.
Make natural candles with beeswax and essential oils. Beeswax requires higher melting temperatures around 145 to 175 degrees Fahrenheit. It holds less scent, so use higher concentrations and stronger oils like peppermint or eucalyptus.
Advanced Techniques
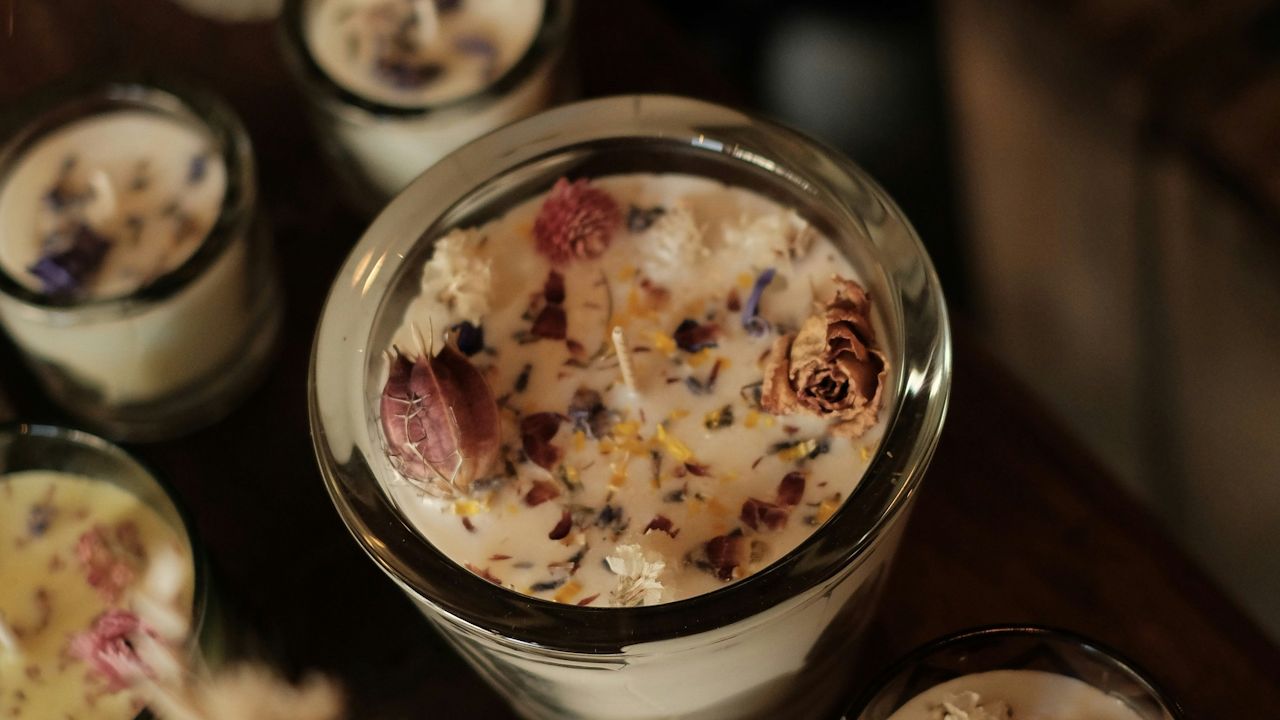
Embed dried flowers, herbs, or crystals on the sides of containers before pouring for visual interest. Ensure embeds are heat-safe and non-flammable. For textured tops, sprinkle dried botanicals after pouring while the surface is still tacky.
Create custom labels with waterproof paper and attach them once candles fully cure. Personalize scents for specific occasions, such as pine for winter or rose for romantic settings.
Troubleshooting Common Problems
Weak scent throw often results from insufficient fragrance, wrong pouring temperature, or poor quality oils. Increase fragrance percentage slightly or try different oils.
Cracking or sinkholes indicate cooling too fast or insufficient topping off. Insulate cooling candles with a towel to slow the process.
Frosting on soy candles is normal. It appears as white crystalline patterns and does not impact burning. Embrace it as a natural feature or use additives to minimize it.
Uneven burning or tunneling happens with wicks that are too small. Choose wicks based on container width. Test different sizes if needed.
If the candle smokes excessively, trim the wick shorter or ensure proper curing. Black soot suggests impure wax or fragrance; switch to higher quality materials.
Cleaning Up and Storage
Wax residue cleans with hot soapy water or by freezing and chipping it away. Reuse leftover wax by remelting it in future batches. Store finished candles in a cool, dry area away from direct sunlight to preserve scents and colors. Avoid extreme temperatures that could soften the wax.
Environmental and Cost Considerations
Homemade candles reduce reliance on commercial products that may contain synthetic ingredients. Bulk purchasing wax and supplies lowers costs over time. Soy and beeswax options support more sustainable practices than traditional paraffin.
Scaling Up Production
Once comfortable with small batches, increase quantities for gifts or small businesses. Track recipes precisely for consistency. Label each batch with ingredients and dates for safety and reference.
Enjoying Your Handmade Candles
Light your finished candles in safe holders away from drafts and flammable materials. Burn them for no more than four hours at a time, and never leave them unattended. The gentle flicker and personalized aroma create a cozy atmosphere that store-bought options rarely match.
Making scented candles from scratch builds skills and provides endless customization. Start simple, learn from each batch, and soon you will develop signature scents and styles. This craft offers relaxation during the process and satisfaction from the glowing results. Gather your supplies, follow these steps carefully, and enjoy the warm glow of your creations.