

In a world dominated by fast fashion and mass-produced garments, more people are turning to do-it-yourself methods to express their personal style. Customizing clothes at home offers a creative outlet that transforms ordinary wardrobe items into unique pieces. This approach not only saves money but also reduces waste by giving new life to existing garments. Whether you are a beginner with basic sewing skills or an experienced crafter, DIY fashion allows endless possibilities for personalization right in your living room or kitchen table.
The appeal of home customization lies in its accessibility. You do not need a professional studio or expensive equipment. Many projects require nothing more than items you already own or can purchase inexpensively from local stores. This article explores the fundamentals, techniques, and inspiring ideas for customizing clothes at home, providing practical guidance to help you get started and refine your skills.
Why Embrace DIY Fashion?
Customizing clothes at home brings numerous advantages. First, it promotes sustainability. Instead of discarding clothes that no longer fit your taste or have minor flaws, you can repair and enhance them. This practice aligns with upcycling principles, where old items become fashionable again.
Second, DIY fashion fosters individuality. Store-bought clothes often lack uniqueness, but customized pieces reflect your personality, interests, and creativity. You can incorporate favorite colors, patterns, or cultural elements that resonate with you.
Third, it is cost-effective. A plain t-shirt might cost a few dollars, but adding custom designs can make it look like a high-end designer item without the premium price tag. Over time, these skills can lead to significant savings on your clothing budget.
Finally, the process itself is therapeutic. Many enthusiasts describe sewing, painting, or distressing fabric as a relaxing hobby that provides a sense of accomplishment when they wear their finished creations.
Essential Tools and Materials
Before diving into projects, gather basic supplies. Start small and expand your collection as you gain confidence.
Basic Tools:
- Scissors: Sharp fabric scissors for clean cuts and smaller embroidery scissors for detail work.
- Needles and thread: A variety of sizes and colors for hand sewing.
- Sewing machine: Optional but helpful for larger projects. Even a simple model works well for beginners.
- Measuring tape and ruler: For accurate dimensions.
- Chalk or fabric markers: For temporary markings on clothes.
- Iron and ironing board: Essential for pressing seams and applying transfers.
Materials for Customization:
- Fabric paints, dyes, and markers.
- Embroidery floss and hoops.
- Patches, buttons, beads, and sequins.
- Old clothes for upcycling or scraps of fabric.
- Stencils, rubber stamps, or screen printing kits for patterns.
- Bleach or distressing tools like sandpaper and razors for worn effects.
- Adhesives such as fabric glue or fusible webbing.
Store these items in a dedicated box or drawer to keep them organized and easily accessible. Safety note: Work in a well-ventilated area when using dyes or bleach, and protect surfaces with old newspapers or drop cloths.
Basic Customization Techniques
Begin with simple methods that require minimal equipment.
1. Adding Patches and Appliques Patches offer an easy way to add personality. Choose iron-on or sew-on patches, or create your own from scrap fabric. Cut shapes like hearts, stars, or letters. Position them on the garment, secure with pins, and either sew around the edges or use fabric glue. For a polished look, use a zigzag stitch on a sewing machine.
2. Simple Sewing Modifications Shorten hems on pants or sleeves for a better fit. Add decorative topstitching along seams. Replace plain buttons with colorful or vintage ones. These small changes can dramatically improve how clothes look and feel.
3. Fabric Painting Use fabric paints to create designs freehand or with stencils. Place cardboard inside the garment to prevent paint from bleeding through. Apply thin layers and let each dry completely before adding more. Heat-set the paint with an iron according to product instructions to make it permanent and washable.
4. Dyeing Basics Transform a faded shirt with fabric dye. Follow package directions carefully, as results depend on fabric type. Cotton and linen absorb dye well, while synthetics may require special formulas. Experiment with tie-dye techniques by twisting and binding sections with rubber bands for patterns.
Intermediate Techniques
Once comfortable with basics, try these methods for more impact.
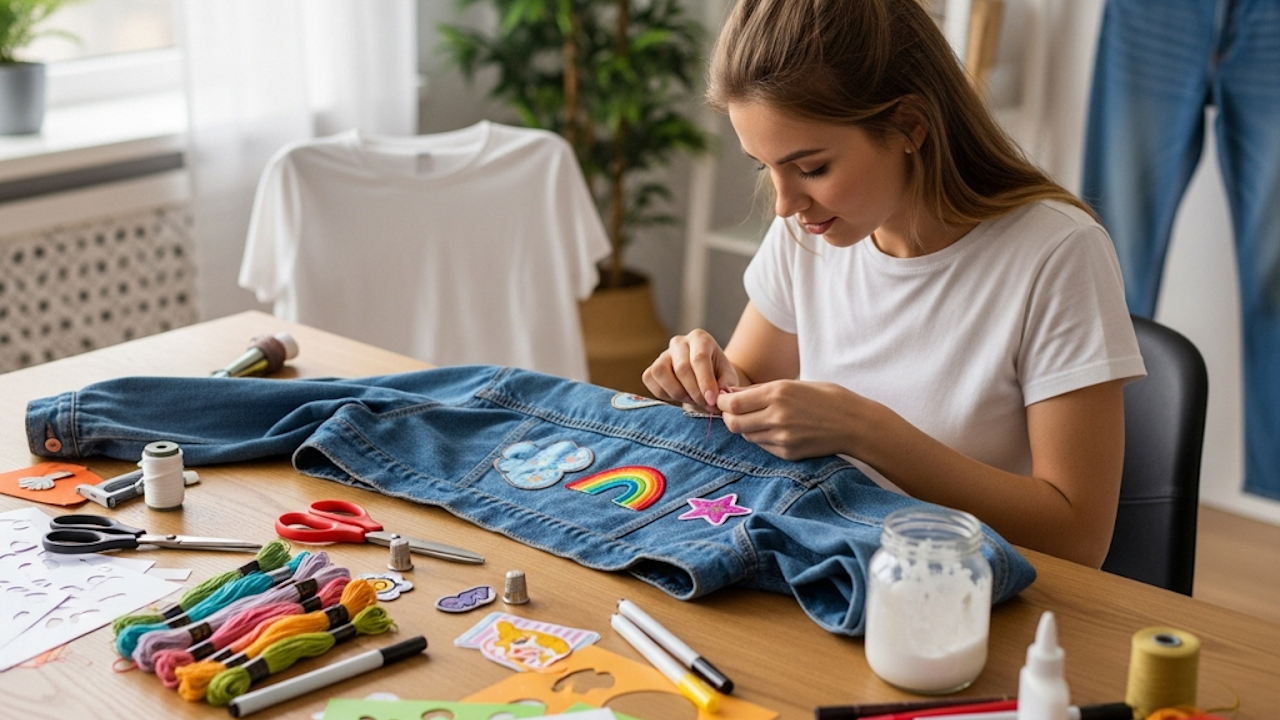
Embroidery Hand embroidery adds texture and detail. Use an embroidery hoop to keep fabric taut. Common stitches include running stitch, backstitch, satin stitch, and French knots. Design simple motifs like flowers, quotes, or geometric patterns. Embroidery works beautifully on denim jackets, jeans, or pillowcases made from old shirts.
Distressing and Shredding Create a lived-in look by distressing garments. Use sandpaper to roughen areas like knees on jeans or elbows on jackets. For shredded effects, make small cuts with scissors and pull threads to fray edges. This technique suits casual, grunge, or vintage-inspired styles.
Screen Printing at Home Basic screen printing kits allow for repeatable designs. Create stencils with freezer paper or buy pre-made screens. Apply ink with a squeegee in even strokes. This method excels for logos, band names, or repeated patterns on multiple t-shirts.
Adding Hardware Incorporate zippers, studs, grommets, or chains for an edgy vibe. Tools like grommet kits make installation straightforward. Reinforce areas with extra fabric patches on the inside to prevent tearing.
Advanced Customization Ideas
For those seeking more complex projects, consider these options.
Reconstructing Garments Turn a dress into a skirt or a long-sleeve shirt into a crop top. Deconstruct old clothes completely and reassemble them differently. For example, combine sleeves from one garment with the body of another to create a hybrid piece. This requires careful planning and measurements.
Quilting and Patchwork Sew fabric scraps together into patchwork panels and attach them to jackets or bags. Traditional quilt patterns like log cabin or crazy quilt add visual interest and use up leftover materials.
Natural Dyeing Experiment with plant-based dyes from kitchen ingredients such as onion skins, turmeric, or beetroot. Simmer the plant material, strain the liquid, and soak pre-mordanted fabric. Results yield soft, earthy tones that develop character over time.
Digital Transfers and Sublimation Print designs on special transfer paper using an inkjet printer. Cut out the image and iron it onto fabric. This works well for photos or intricate graphics. Sublimation requires specific printers and polyester fabrics but produces vibrant, permanent results.
Project Inspirations
Custom T-Shirts Start with a plain tee. Add iron-on letters for a band-style graphic, paint a landscape scene, or embroider a personal mantra on the collar. Layer multiple techniques, such as painted background with embroidered details.
Denim Makeovers Jeans offer endless customization potential. Patch holes with colorful fabric, add embroidery along seams, or bleach patterns for reverse-dye effects. Transform old jeans into shorts, skirts, or even a denim jacket by combining multiple pairs.
Jacket Transformations A basic denim or canvas jacket becomes a statement piece with painted back panels, studded collars, and pinned badges. Theme it around favorite movies, music, or travel memories.
Dress Up Old Dresses Shorten a maxi dress to midi length, add lace inserts, or dye it a new color. Replace straps with ribbon or add pockets for functionality.
Accessories from Scraps Create headbands, scrunchies, or tote bags from leftover fabric. These smaller projects build skills and use materials that might otherwise be discarded.
Sustainability and Upcycling Focus
DIY fashion connects deeply with environmental consciousness. The fashion industry produces significant waste and carbon emissions. By customizing existing clothes, you extend their lifespan and reduce demand for new production.
Track your progress by keeping a before-and-after journal or photos of projects. Challenge yourself to complete one upcycle per month. Participate in clothing swap events where you can trade items to customize further.
Many communities offer free workshops or online tutorials. Sharing your creations on social media or with friends inspires others and builds a supportive network of makers.
Tips for Success
- Wash and dry garments before customizing to account for shrinkage.
- Test techniques on scrap fabric first.
- Work in good lighting to avoid mistakes.
- Take breaks to maintain focus and creativity.
- Label your supplies clearly.
- Start with inexpensive items in case of errors.
- Mix textures and colors thoughtfully for cohesive designs.
- Consider the garment’s original structure when planning changes.
Patience proves essential. Some projects may take several sessions to complete. Celebrate small victories, such as mastering a new stitch or achieving the perfect color match.
Safety and Care Considerations
Always prioritize safety. Use sharp tools carefully and store them properly. When working with chemicals like bleach or strong dyes, wear gloves and old clothes. Keep projects away from children and pets if using small beads or sharp objects.
After customization, follow proper care instructions. Hand wash delicate items or turn garments inside out before machine washing. Avoid high heat drying for painted or glued pieces to preserve your work.
Conclusion
DIY fashion empowers you to take control of your wardrobe and express creativity without limits. Customizing clothes at home combines practicality, artistry, and environmental responsibility. As you develop skills, you will discover new techniques and refine your personal style.
Begin with one small project this week. Choose an old shirt or pair of jeans and experiment. Over time, your confidence will grow, and your closet will fill with one-of-a-kind pieces that tell your unique story. The joy of wearing something made by your own hands surpasses any store-bought alternative. Embrace the process, learn from mistakes, and enjoy the rewarding world of home fashion customization.