

Natural skincare has gained immense popularity in recent years as people seek gentler and more affordable alternatives to commercial products. DIY face masks made from kitchen ingredients offer a wonderful way to pamper your skin without harsh chemicals or expensive trips to the store. These masks can address various skin concerns from dryness and dullness to acne and uneven tone. Best of all they use simple items you likely already have at home like honey olive oil and fresh fruits. This comprehensive guide will walk you through everything you need to know to create effective homemade face masks.
Why Choose DIY Face Masks
Homemade face masks provide several advantages over store bought options. First they allow full control over the ingredients ensuring nothing unwanted touches your skin. Many commercial masks contain preservatives artificial fragrances and synthetic additives that can irritate sensitive skin. In contrast kitchen based recipes rely on whole foods rich in vitamins minerals and antioxidants.
These masks are also highly customizable. You can adjust recipes based on your skin type whether it is oily dry combination or sensitive. They promote sustainability by reducing plastic packaging waste. Cost effectiveness is another major benefit as most ingredients cost pennies per use compared to high end skincare lines.
Moreover the process of making and applying a mask can be a relaxing self care ritual. It encourages mindfulness and connection with natural elements. Scientific studies support many traditional remedies. For instance honey has proven antibacterial properties while oatmeal soothes inflammation.
Important Safety Precautions
Before diving into recipes it is essential to prioritize safety. Even natural ingredients can cause reactions in some people. Always perform a patch test by applying a small amount of the mixture to your inner wrist or behind your ear. Wait 24 hours to check for redness itching or swelling.
Avoid using masks if you have open wounds cuts or active infections on your face. Certain ingredients like lemon or other citrus fruits contain acids that may increase sun sensitivity so apply them at night and use sunscreen the next day. Do not use masks more frequently than recommended as overuse can strip the skin barrier.
Consult a dermatologist if you have conditions like eczema psoriasis or severe acne. Pregnant individuals should be cautious with essential oils though this guide sticks to basic kitchen items. Store homemade masks in the refrigerator for no more than two days and discard if they smell off or change color.
Cleanse your face thoroughly before application and use clean tools to mix ingredients. Wash your hands and face with lukewarm water not hot as heat can dry out skin.
Understanding Your Skin Type and Concerns
Identifying your skin type helps select the right mask. Dry skin feels tight and may flake. Oily skin shines and is prone to breakouts. Combination skin has oily T zone with drier cheeks. Sensitive skin reacts easily to products.
Common concerns include acne which needs antibacterial and oil balancing ingredients. Dullness benefits from brightening agents. Aging skin requires moisture and antioxidants. Hyperpigmentation calls for gentle exfoliants.
Now let us explore popular recipes tailored to these needs. Each includes step by step instructions application tips and expected benefits.
Hydrating Masks for Dry Skin
Dry skin needs deep moisture to restore its barrier. These masks use creamy and oil rich ingredients.
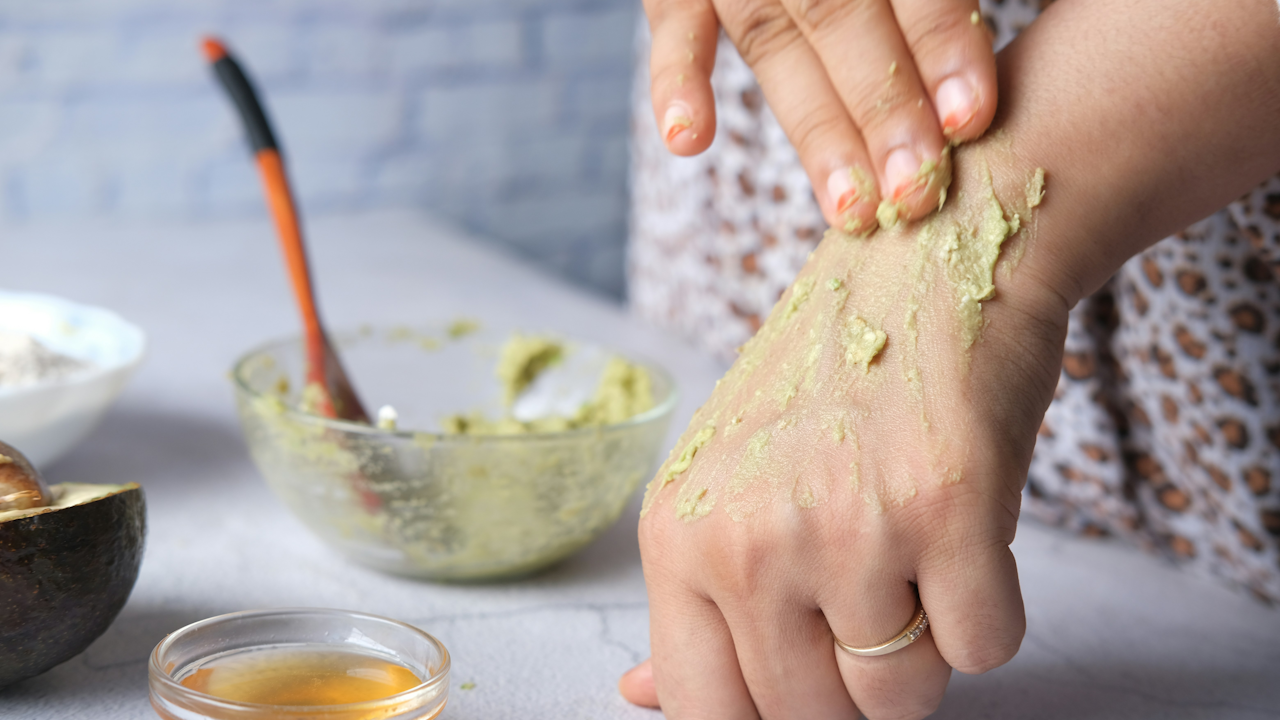
Honey and Avocado Mask
Avocado is packed with healthy fats and vitamin E while honey acts as a humectant drawing moisture into the skin.
Ingredients:
- Half a ripe avocado
- 1 tablespoon raw honey
- 1 teaspoon olive oil
Mash the avocado until smooth then mix in honey and olive oil. Apply to clean face avoiding eye area. Leave on for 15 to 20 minutes. Rinse with lukewarm water and pat dry. Use twice weekly. This mask leaves skin soft and supple.
Banana and Yogurt Mask
Banana provides potassium and vitamins while plain yogurt offers lactic acid for gentle exfoliation and probiotics for balance.
Ingredients:
- 1 ripe banana
- 2 tablespoons plain Greek yogurt
- 1 teaspoon coconut oil optional
Mash banana and combine with yogurt and coconut oil. Spread evenly on face. Relax for 15 minutes then rinse. This combination hydrates without greasiness making it ideal for winter months.
Masks for Oily and Acne Prone Skin
Oily skin requires ingredients that control sebum and fight bacteria without over drying.
Turmeric and Lemon Mask
Turmeric contains curcumin with anti inflammatory properties. Lemon adds vitamin C and astringent qualities.
Ingredients:
- 1 teaspoon turmeric powder
- 1 tablespoon fresh lemon juice
- 1 tablespoon honey
Mix into a paste. Apply thinly and leave for 10 minutes maximum due to lemon acidity. Rinse well. This mask helps reduce blemishes and brighten skin over time. Use once weekly.
Oatmeal and Apple Cider Vinegar Mask
Oatmeal calms irritation while apple cider vinegar balances pH and has antibacterial effects.
Ingredients:
- 2 tablespoons ground oatmeal
- 1 tablespoon apple cider vinegar
- 1 teaspoon water to adjust consistency
Combine into paste. Massage gently onto face as the oatmeal provides mild exfoliation. Leave for 15 minutes. This is excellent for calming active breakouts.
Brightening Masks for Dull Skin
To combat dullness look for ingredients with natural enzymes and antioxidants.
Pineapple and Honey Mask
Pineapple contains bromelain an enzyme that exfoliates dead skin cells.
Ingredients:
- 2 tablespoons fresh pineapple puree
- 1 tablespoon honey
- A few drops of almond milk if needed
Blend pineapple and mix with honey. Apply for 10 to 15 minutes. The natural acids reveal fresher brighter skin underneath. Follow with moisturizer.
Tomato and Sugar Mask
Tomato is rich in lycopene and vitamins while sugar offers gentle physical exfoliation.
Ingredients:
- 1 ripe tomato mashed
- 1 teaspoon brown sugar
- 1 teaspoon olive oil
Mix thoroughly. Apply with circular motions then leave for 10 minutes. Rinse. This mask is refreshing and helps with mild pigmentation.
Anti Aging and Firming Masks
Mature skin benefits from collagen boosting and antioxidant rich mixtures.
Egg White and Lemon Mask
Egg whites tighten pores temporarily while lemon brightens.
Ingredients:
- 1 egg white
- 1 teaspoon lemon juice
- 1 teaspoon honey
Whisk egg white until frothy then add other ingredients. Apply in layers allowing each to dry slightly. Leave for 15 minutes. This provides a temporary firming effect.
Green Tea and Honey Mask
Brewed green tea delivers potent antioxidants called catechins.
Ingredients:
- 1 tablespoon matcha powder or cooled strong green tea
- 2 tablespoons honey
- 1 teaspoon yogurt
Mix to paste consistency. Apply for 20 minutes. Regular use may help reduce fine lines by fighting free radicals.
Soothing Masks for Sensitive or Irritated Skin
For redness or sensitivity choose calming options.
Cucumber and Aloe Vera Mask
Cucumber cools and hydrates while aloe soothes.
Ingredients:
- Half cucumber blended
- 1 tablespoon aloe vera gel from plant or pure store version
- 1 teaspoon chamomile tea cooled optional
Combine and apply generously. Leave for 20 minutes. This mask is gentle enough for daily use during flare ups.
Milk and Oatmeal Mask
Milk contains soothing fats and lactic acid. Oatmeal reduces inflammation.
Ingredients:
- 2 tablespoons colloidal oatmeal or finely ground oats
- 3 tablespoons milk or almond milk
- 1 teaspoon honey
Stir into thick paste. Apply and relax for 15 minutes. Ideal after sun exposure or for rosacea prone skin.
Exfoliating Masks for All Skin Types
Gentle exfoliation removes dead cells revealing smoother skin. Use sparingly once or twice weekly.
Coffee and Yogurt Scrub Mask
Coffee grounds provide antioxidants and physical exfoliation.
Ingredients:
- 1 tablespoon used coffee grounds
- 2 tablespoons plain yogurt
- 1 teaspoon olive oil
Mix and massage onto damp skin in circles. Leave for 10 minutes then rinse. The caffeine may temporarily tighten skin.
Strawberry and Sugar Mask
Strawberries have natural acids and vitamin C.
Ingredients:
- 3 mashed strawberries
- 1 teaspoon sugar
- 1 teaspoon coconut oil
Combine and use with light circular motions. Rinse after 10 minutes. This leaves skin glowing.
Tips for Best Results
Consistency matters more than single uses. Incorporate masks into your routine one to three times weekly. Always follow with a moisturizer and sunscreen during the day.
Enhance absorption by applying masks after a warm shower when pores are open. Use a soft brush or clean fingers for even application. Lie down with a towel under your head to relax fully.
Experiment safely by starting with small batches. Track how your skin responds in a journal noting ingredients and outcomes.
For added benefits infuse masks with kitchen herbs like crushed mint for cooling or basil for purifying though keep quantities minimal.
Common Kitchen Ingredients and Their Benefits
Understanding individual ingredients empowers better customization.
- Honey: Antibacterial humectant and wound healer. Suitable for most skin types.
- Yogurt: Provides probiotics and lactic acid for mild exfoliation and brightening.
- Avocado: Rich in monounsaturated fats and vitamins for deep hydration.
- Oatmeal: Anti inflammatory and soothing especially for itchy skin.
- Lemon: High in vitamin C but use cautiously due to photosensitivity.
- Turmeric: Anti inflammatory and may help with acne scars.
- Banana: Potassium and vitamins for moisture and softness.
- Olive Oil: Emollient that mimics skin natural oils.
- Cucumber: Hydrating and anti inflammatory with high water content.
- Green Tea: Antioxidant powerhouse that combats aging.
Conclusion
Creating DIY face masks from kitchen ingredients transforms your skincare into an enjoyable creative practice. These recipes offer natural solutions for nearly every skin concern while saving money and reducing environmental impact. Remember that results vary by individual so listen to your skin and adjust accordingly.
Embrace the simplicity of nature next time you crave a spa experience. With basic pantry staples you can achieve glowing healthy skin at home. Start with one recipe that matches your current needs and build from there. Your skin will thank you for the nourishing care.
Regular self care through these masks not only improves appearance but also boosts overall well being. Enjoy the process and celebrate the natural beauty that comes from within.