

Introduction to DIY Personalized Mugs
In recent years, the trend of DIY projects has grown significantly, as individuals seek creative outlets and unique ways to express their personalities. Among various DIY endeavors, customizing mugs using paint pens has become particularly popular. This craft allows enthusiasts to create personalized items that serve not only as functional kitchenware but also as a reflection of their individual style.
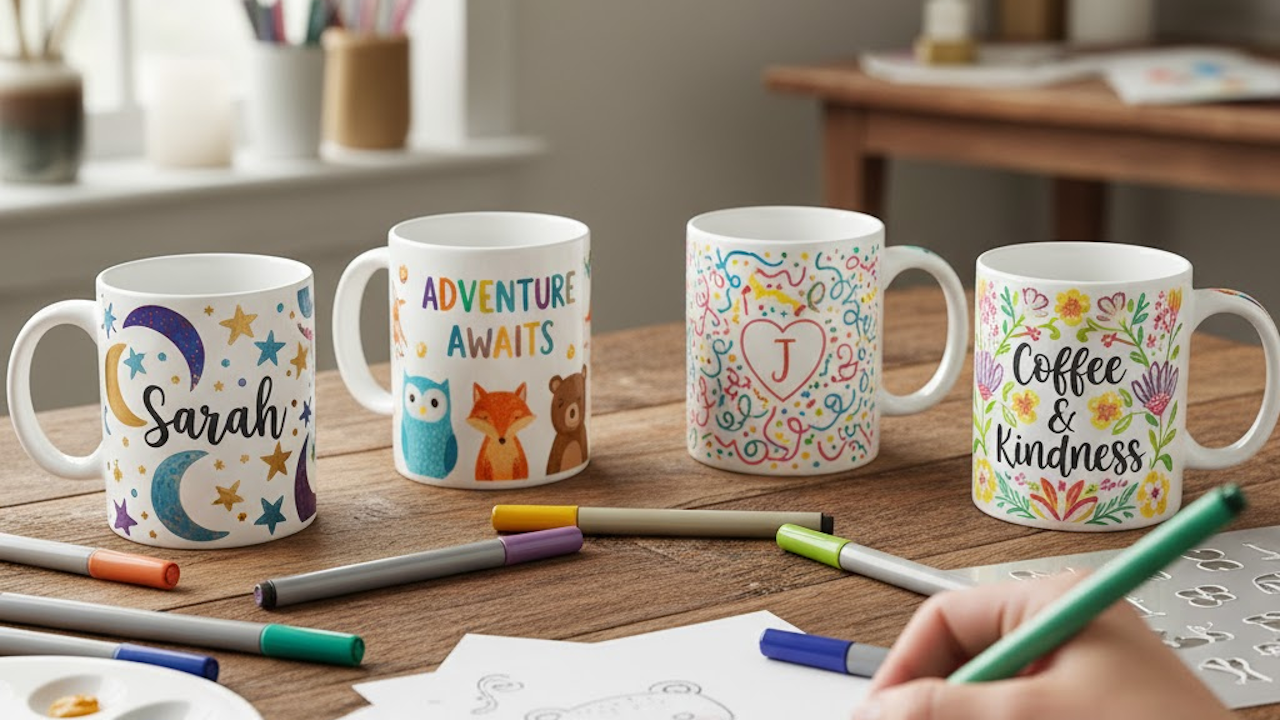
The ability to transfer personal designs, meaningful quotes, or cherished images onto mugs presents an enjoyable activity that can result in memorable gifts for friends and family. A personalized mug holds more than just a beverage; it conveys thoughtfulness and creativity, making it an ideal gift for occasions such as birthdays, anniversaries, or holidays. Furthermore, these custom mugs can enhance home decor, adding a personal touch to kitchen or dining areas.
With paint pens, crafters can explore a wide range of techniques and styles. From simple geometric patterns to intricate illustrations, the possibilities are boundless. Whether you consider yourself an experienced artist or a beginner, the accessibility of paint pens makes it easy for anyone to embark on this creative journey. Not only is this project cost-effective, but it also offers a satisfying experience as creators watch their ideas come to life on a blank canvas.
As we delve into the details of making personalized mugs, we will provide valuable instructions and tips to help you achieve beautiful designs. Embracing this DIY project can lead to the creation of unique pieces that resonate with personal significance or reflect the tastes of loved ones, showcasing the beauty of handcrafted artistry in an increasingly mass-produced world.
Materials Needed for Your Mug Project
Creating personalized mugs with paint pens involves selecting the right materials to ensure that your designs are not only vibrant but also durable. First, consider the type of mug. Ceramic mugs are the most popular choice due to their smooth surfaces and ability to withstand heat. However, glass mugs are also a great option, providing a sleek appearance that complements various styles. Additionally, porcelain mugs can be used for a more delicate finish and are typically dishwasher safe.
Next, the selection of paint pens is critical. Paint pens are available in various colors, tips, and formulations. Oil-based paint pens are known for their glossy finish and excellent adherence to non-porous surfaces, making them suitable for both ceramic and glass mugs. Water-based paint pens are easier to clean up and less toxic, though you may need to seal your designs afterward for longevity. Always check if the paint pen is food-safe, particularly if you intend to drink from your decorated mug.
In addition to mugs and paint pens, other tools can enhance your decorating experience. Stencils are particularly useful for creating uniform shapes and designs, while painter’s tape can help achieve clean lines and prevent the accidental overlapping of colors. A ruler may assist in positioning designs accurately, ensuring a professional look. Sealants are an essential final step, especially if you used water-based pens; applying a clear, food-safe sealant can protect your artwork and allow for easy cleaning of the mugs.
Selecting the right materials is vital to obtaining lasting results. By choosing quality mugs, the appropriate paint pens, and additional tools, you set the foundation for creating stunning personalized mugs that will be treasured for years to come.
Step-by-Step Guide to Design and Paint Your Mug
Creating a personalized mug with paint pens is an exciting endeavor that combines creativity and practicality. This guide will assist you through each step of the process, from design conception to the final painting touches.
Begin by brainstorming design ideas for your mug. Consider the intended recipient, any themes or colors they favor, and think of meaningful messages, quotes, or graphics that could resonate with them. It may be helpful to jot down your ideas or create a mood board to visualize your concepts. Once you have a few ideas, sketch them out on paper to refine your vision further.
The next stage involves preparing your ceramic mug. Ensure the surface is clean and free from any dust or grease by washing it with soap and water. Allow it to dry completely before starting the painting. This preparation is crucial because it ensures better adhesion of the paint pens to the ceramic surface.
Using your sketches as a guide, you can now begin to apply your paint pens. A good technique is to use light pressure and steady strokes to maintain control and prevent ink from bleeding. Experiment with different pen tips if you wish to achieve varied effects; thick tips are excellent for larger areas, while fine tips are great for detailed designs. If you’re aiming for a more intricate design, consider outlining your sketch lightly with a pencil before going over it with the paint pen.
Once you complete the application of designs, it is vital to allow the paint to dry properly. Generally, waiting 24 hours will suffice before handling your mug. However, for optimal durability, check the manufacturer’s instructions regarding curing times, which may recommend baking the mug to set the paint permanently. Lastly, if any smudges or imperfections occur, don’t fret—most issues can be rectified with careful touch-ups.
Caring for Your DIY Painted Mug
Once you have created your own masterpiece using paint pens, it is essential to take proper care of your DIY painted mug to ensure that its personalized artwork remains vibrant and intact for a long time. Washing your mug is one of the most crucial aspects of upkeep. It is recommended to hand wash your painted mugs gently with warm, soapy water, rather than placing them in the dishwasher. The intense heat and harsh chemicals in dishwashers can cause the paint to fade or chip, compromising the integrity of your design. Make sure to avoid scrubbing the painted areas too aggressively to prevent wearing down the creativity you’ve painstakingly applied.
When it comes to storing your mugs, opt for a cool, dry place away from direct sunlight. Prolonged exposure to sunlight can cause the colors to fade over time. If you stack your mugs, consider using a protective layer, such as a cloth or paper towel, between them to prevent scratching and chipping of the designs. Additionally, many paint pens are designated as non-toxic and are suitable for food and drink, but it is crucial to check the specific instructions provided by the manufacturer. Some painted mugs are best used for decorative purposes rather than serving food or beverages.
Should you notice that your design begins to wear or require touch-ups, you will be pleased to know that many paint pens can be reapplied for minor fixes. Before applying any new paint, ensure the surface is clean and dry, and you may want to seal the artwork with a clear, non-toxic sealant to add an extra layer of protection. This attention to detail will help you maintain the beauty of your creations while providing you with an enduring way to express your personal style.