

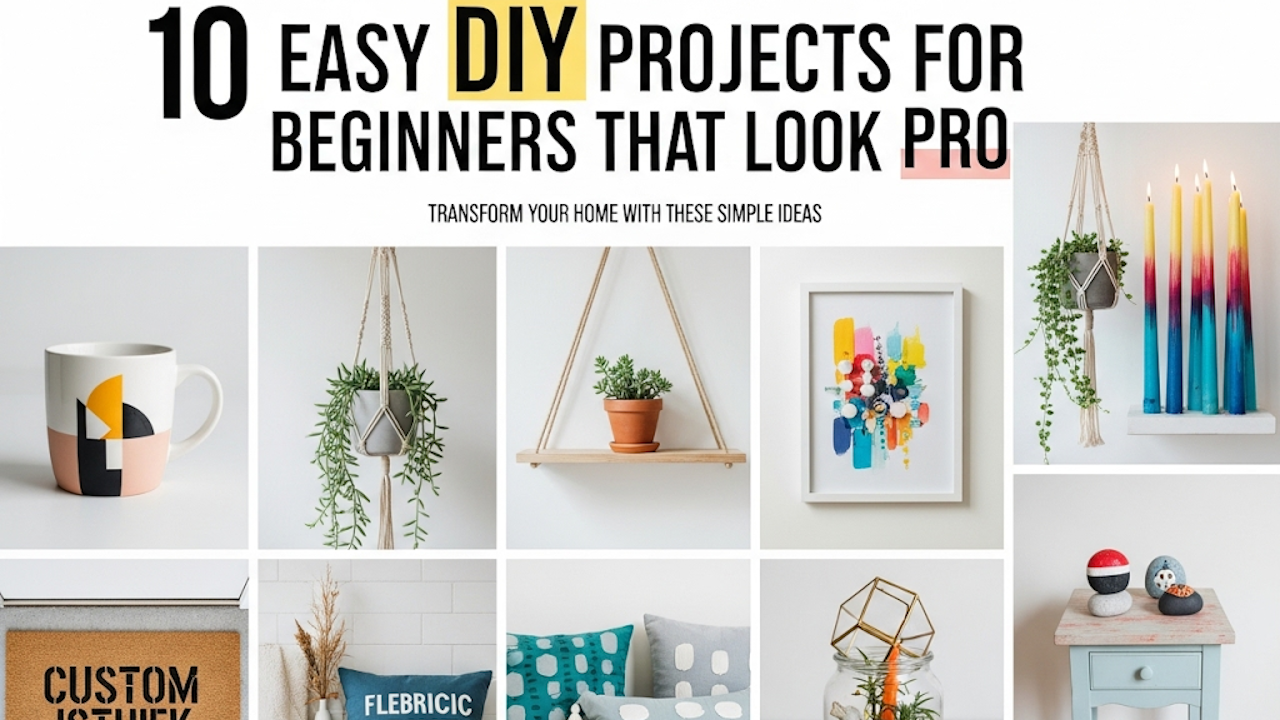
Home improvement and decor projects do not need to be complicated or expensive to deliver stunning results. Many beginners can achieve professional-looking outcomes with basic tools, affordable materials, and a bit of patience. These 10 DIY projects are selected specifically for their simplicity while offering high visual impact. Each one can be completed in a weekend or less, using items available at most hardware stores or online. Whether you want to refresh a living room, organize a kitchen, or add personality to a bedroom, these ideas will elevate your space without requiring advanced skills.
1. Floating Shelves
Floating shelves create a clean, modern look that makes any wall feel custom-designed. They appear to defy gravity, adding both storage and style.
Materials needed:
- Two or three wooden boards (1×8 or 1×10 pine, cut to desired length)
- Heavy-duty shelf brackets or floating shelf hardware kit
- Level, drill, screws, and anchors
- Sandpaper, paint or stain, and a brush
Steps:
- Measure and mark the wall where the shelves will go, ensuring they are level.
- Install the brackets or hidden hardware securely into wall studs using anchors where necessary.
- Sand the wooden boards until smooth.
- Apply paint or stain and let them dry completely.
- Slide or attach the boards onto the hardware.
These shelves look professional because of their minimalist design. Choose matching paint to blend with your walls for a built-in appearance. They work well in living rooms for books and plants or in kitchens for spices and cookbooks. Start with shorter shelves if you are new to drilling.
2. Gallery Wall Arrangement
A thoughtfully arranged gallery wall turns empty space into a focal point that feels curated by an interior designer.
Materials needed:
- Assorted picture frames in different sizes (thrift stores are great for this)
- Prints, photos, or artwork
- Painter’s tape, measuring tape, and level
- Command strips or picture hanging hooks
Steps:
- Lay out your frames on the floor to plan the arrangement.
- Use painter’s tape to mark the layout on the wall.
- Hang the largest piece first in the center, then add surrounding pieces while checking for level alignment.
- Mix black-and-white photos with colorful art for interest.
The professional touch comes from balance and spacing. Keep frames about two inches apart. This project allows endless creativity and can be adjusted easily if you change your mind.
3. Rustic Pallet Coffee Table
A coffee table made from wooden pallets has a trendy, farmhouse vibe that looks far more expensive than the cost of materials.
Materials needed:
- Two wooden pallets (clean and heat-treated)
- Sandpaper or electric sander
- Casters or legs
- Wood stain, sealant, and screws
Steps:
- Clean the pallets thoroughly and sand all surfaces until smooth.
- Stack and secure the pallets together with screws for added height.
- Attach casters for mobility or wooden legs for stability.
- Apply stain and a protective sealant.
This table looks professional due to its sturdy construction and rich wood finish. Add a glass top if you want a more refined surface. It is perfect for living rooms and can support lamps, books, and trays.
4. Indoor Herb Garden Planter Box
A wooden planter box filled with fresh herbs brings life and function to a kitchen windowsill while looking like a high-end kitchen feature.
Materials needed:
- Wooden box or crate (or build one from pine boards)
- Waterproof liner or plastic tray
- Potting soil and herb plants
- Drill, screws, and paint
Steps:
- Build or prepare the box and drill drainage holes if needed.
- Apply a waterproof liner and paint the exterior.
- Fill with soil and plant herbs such as basil, rosemary, and mint.
- Place near a sunny window.
The professional appearance comes from uniform planting and a neatly painted container. Label the herbs with small tags for an extra polished detail. This project is forgiving for beginners and rewarding as the herbs grow.
5. Macrame Wall Hanging
Macrame wall hangings add texture and boho elegance without any sewing required.
Materials needed:
- Macrame cord or cotton rope
- Wooden dowel or branch
- Scissors and measuring tape
- Optional beads or tassels
Steps:
- Cut cords to equal lengths and attach them to the dowel using simple knots.
- Follow basic macrame patterns like square knots and spiral knots.
- Create rows of knots, leaving spaces for visual interest.
- Trim the bottom evenly and add decorative elements.
Beginners can find free online tutorials for simple patterns. The finished piece looks professional when knots are consistent and the design is symmetrical. Hang it above a bed or sofa for instant style.
6. Furniture Paint Makeover
Transforming an old dresser or side table with paint creates a custom piece that appears professionally refinished.
Materials needed:
- Old furniture piece
- Sandpaper, primer, and chalk paint or latex paint
- Brushes, roller, and clear wax or polyurethane
- Optional new knobs
Steps:
- Clean and lightly sand the surface.
- Apply primer, then two coats of paint.
- Distress edges lightly if desired for a vintage look.
- Seal with wax or polyurethane and replace hardware.
This project looks pro because of smooth paint application and attention to details like new hardware. Choose trendy colors like deep green or warm white to match current decor trends.
7. Glass Jar Terrarium
A layered terrarium in a large glass jar brings a miniature garden indoors with a sleek, modern aesthetic.
Materials needed:
- Large glass jar or container
- Activated charcoal, pebbles, potting soil
- Small plants like succulents or ferns
- Decorative moss and stones
Steps:
- Layer pebbles at the bottom for drainage.
- Add charcoal, then soil.
- Plant and arrange the greenery carefully.
- Top with moss and decorative elements.
The professional result comes from thoughtful layering and clean glass. Place several terrariums of varying heights together for greater impact. They require minimal maintenance.
8. Wooden Coaster Set
Handmade wooden coasters protect surfaces while adding warmth and sophistication to a coffee table.
Materials needed:
- Thin wood slices or tiles
- Sandpaper and wood stain
- Felt pads and clear sealant
- Optional engraving tool
Steps:
- Cut wood into uniform circles or squares if needed.
- Sand thoroughly and apply stain.
- Seal with multiple coats of polyurethane.
- Attach felt pads to the bottom.
Consistency in size and finish makes these look store-bought. Personalize them with family initials for a thoughtful gift or home accent.
9. Fabric-Covered Bulletin Board
A large bulletin board covered in stylish fabric organizes notes and photos while blending seamlessly into decor.
Materials needed:
- Cork board or foam board
- Fabric of choice
- Staple gun and staples
- Ribbon for crisscross design
Steps:
- Cut fabric larger than the board.
- Stretch and staple the fabric tightly around the back.
- Add ribbon in a diamond pattern using push pins.
- Mount on the wall.
This looks professional when the fabric is taut and the pattern is even. Choose a neutral or patterned fabric that complements your room colors. It works well in home offices or entryways.
10. Simple Wooden Bench
A basic bench provides seating and looks like custom millwork when finished properly.
Materials needed:
- Two wooden crates or boards for legs and seat
- Sandpaper, screws, and wood glue
- Paint or stain
Steps:
- Assemble the base using crates or build legs from sturdy boards.
- Attach a wide seat board on top.
- Sand all surfaces smooth.
- Paint or stain to match your space.
The clean lines and sturdy build give it a high-end look. Place it at the end of a bed, in an entryway, or as extra seating in the living room. Add cushions for comfort.
These projects prove that impressive home upgrades are within reach for anyone willing to try. Start with one or two that match your skill level and available space. Focus on proper measurements, smooth finishes, and thoughtful placement to achieve that professional appearance. With each completed project, your confidence will grow, and your home will reflect your personal style more beautifully. Gather your supplies, set aside a few hours, and enjoy the satisfaction of creating something useful and stylish with your own hands.